

Exchange Server is one of the most reliable mail servers used in small and large enterprises. It stores all the information of the Exchange users’ accounts, including emails, contacts, calendars, tasks, journals, etc. in the Exchange database (EDB) file format. Sometimes, the EDB file gets damaged or corrupted, due to hardware failure, software issues, server failure, or any other issue. In such a case, all the data becomes inaccessible. The best possible way in this situation is to restore the database from the recent healthy backup. In this post, you will learn about the stepwise process of restoring the Exchange Server 2013 database using Windows Server Backup.
Table of Contents
Process to Restore Exchange 2013 Database from Backup
Windows Server Backup is a default data backup feature of Windows. The Windows Server Backup feature is disabled by default and you need to enable it to perform the Exchange data recovery through backup. The native Windows Server Backup should have been enabled before the occurrence of database corruption.
If you have a healthy backup, you can easily restore your Exchange 2013 database from the backup. Here’s the stepwise process to restore Exchange database from backup:
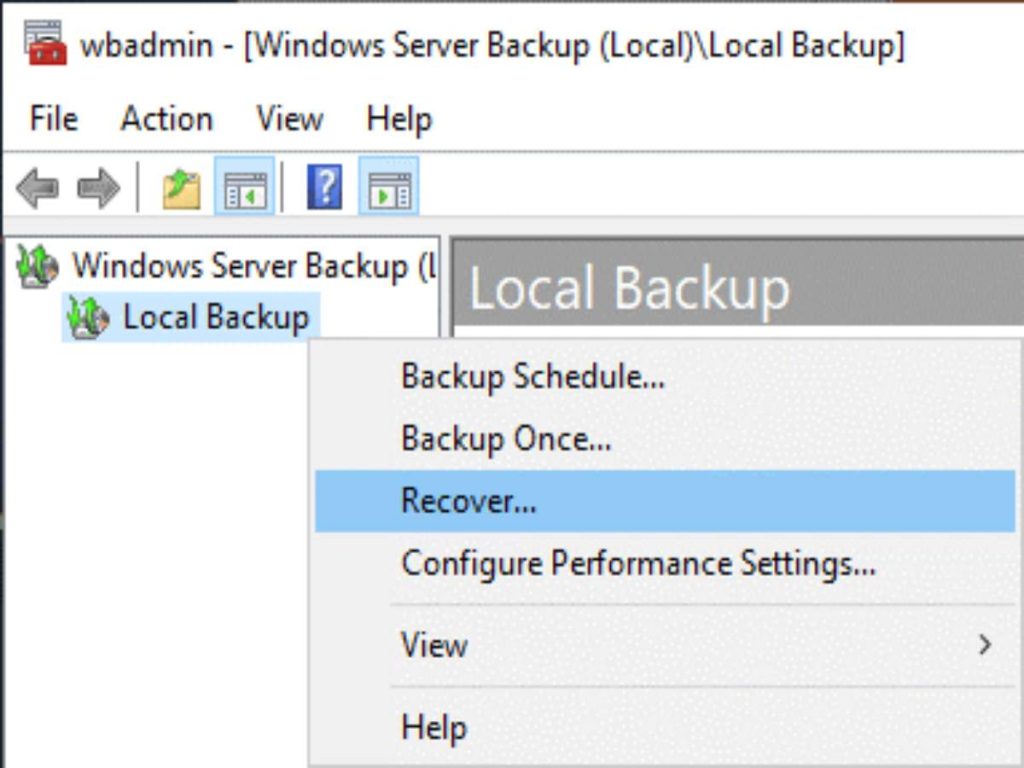
Step 1: Open the Windows Server Backup window. Right-click Local Backup and click Recover.
Step 2: In the Recovery wizard, select the backup location and hit Next to continue.

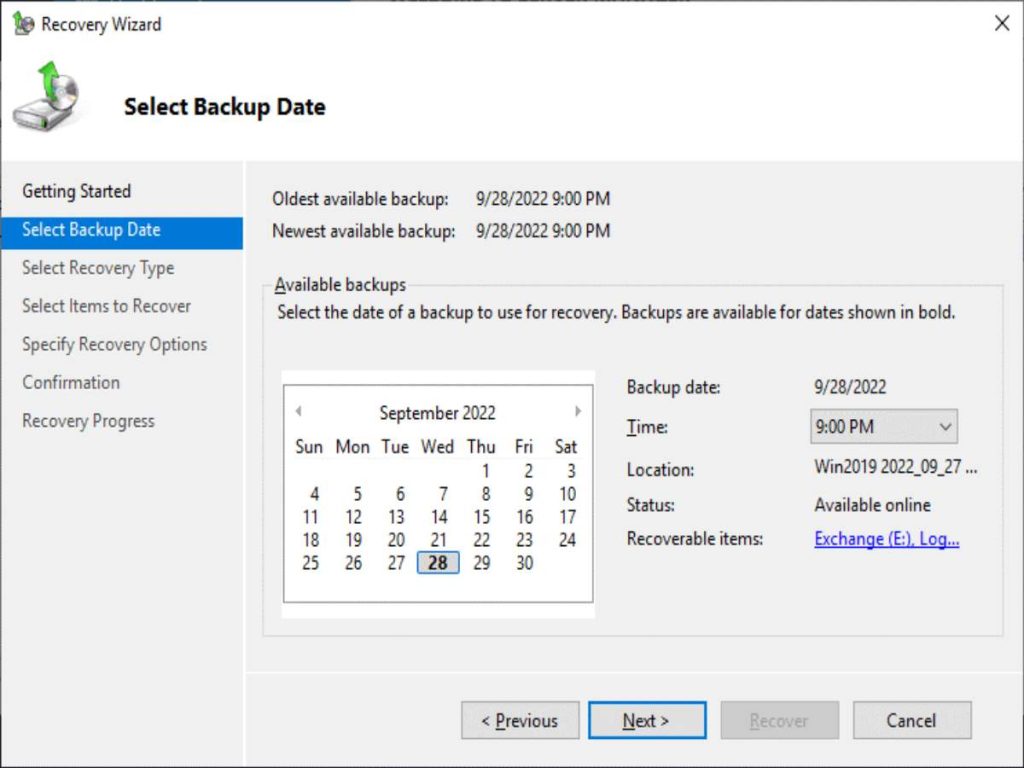
Step 3: Select the required backup date (the recovery point). Select the latest available backup. Then, click Next.
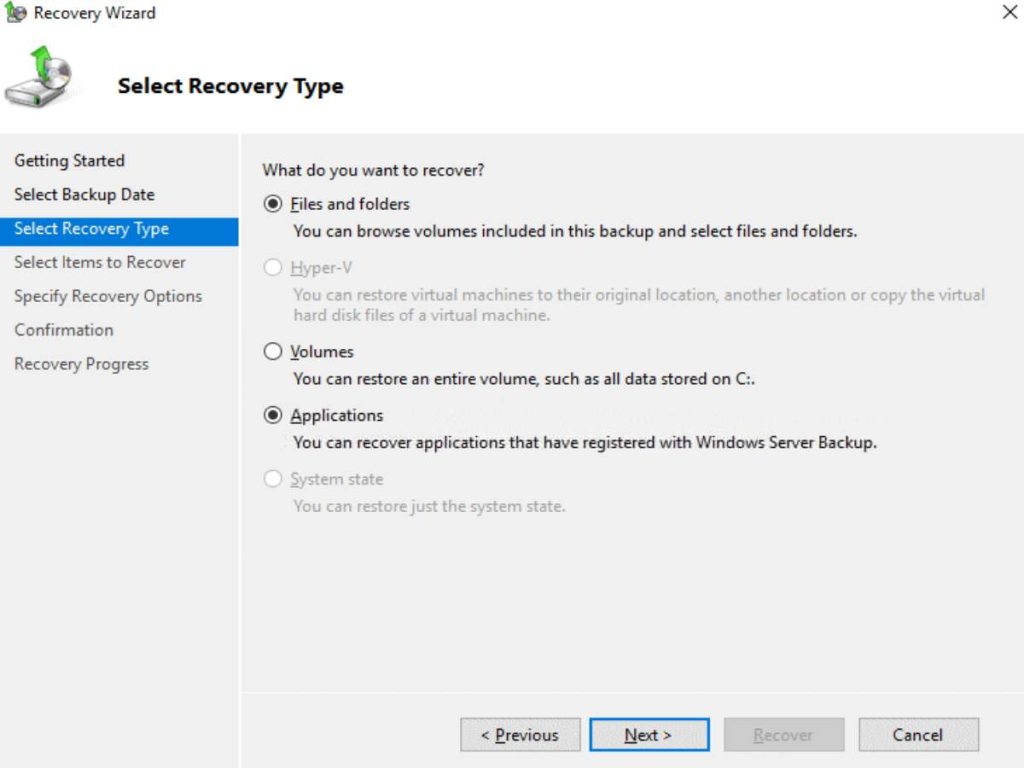
Step 4: Select Applications. If the Applications option is inactive (greyed out), you can select the Files and Folders option. The selected files and folders will be saved to a custom location.
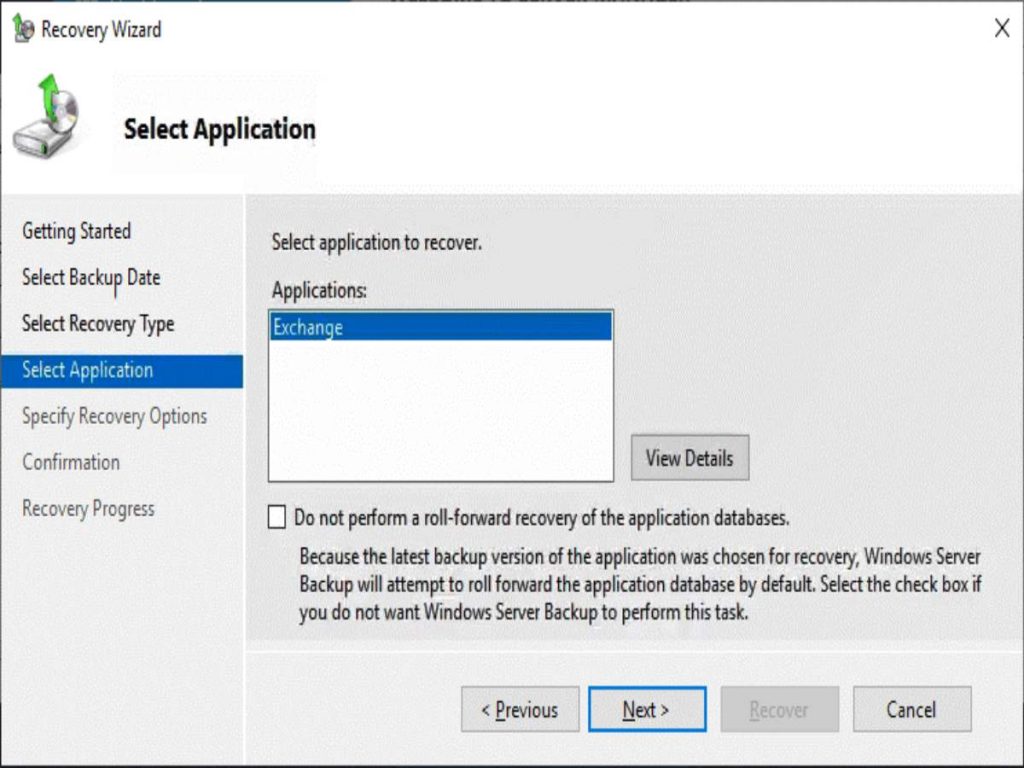
Step 5: On the Select Application page, select Exchange as the application for recovery and click Next. You can click on the View Details option to see the components of application of the backups. If you’re recovering the most recent backup, then you’ll see the Do not perform a roll-forward recovery of the application database option. Select this option, if you do not want the Windows Server Backup to perform this task.
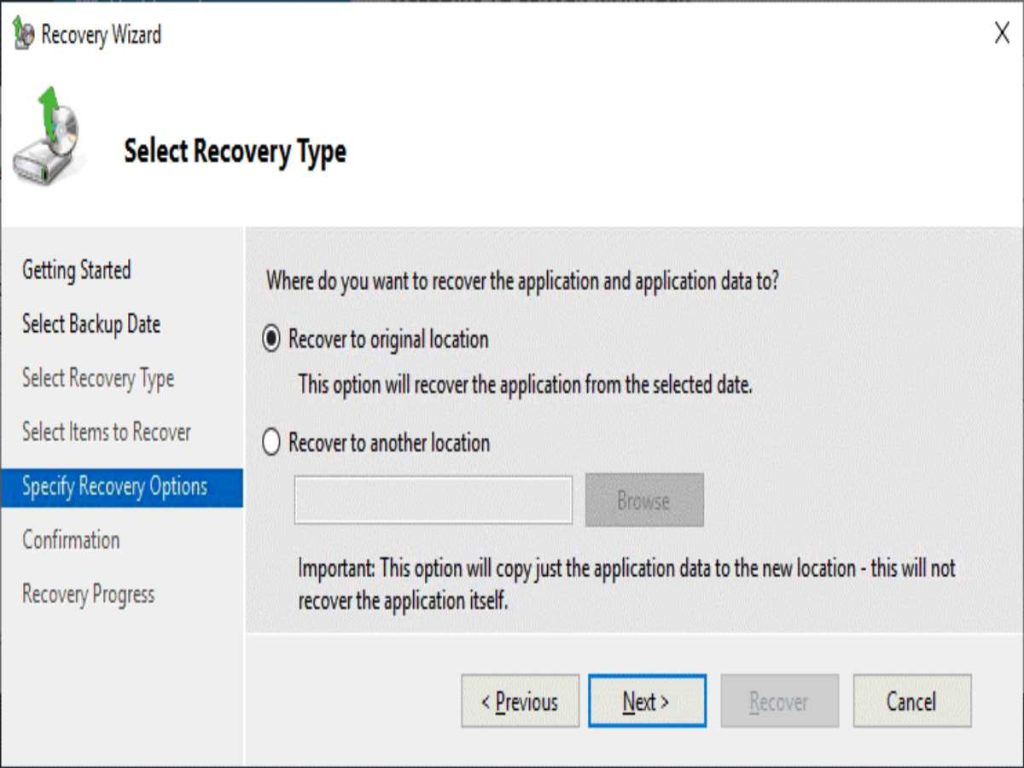
Step 6: Specify the recovery destination. You can either recover the Exchange files to the original location or any other location. Select Recover to the original location and click Next.
Step 7: In the Confirmation window, you can check the Recovery Settings. When done, click on Recover. Wait until the Exchange data recovery is completed.
Step 8: You can see the status and progress of the operation on the Recovery Progress page. When the recovery operation is finished, click on Close.
How to Check if the Database is Successfully Restored?
Though you can see on the Recovery Progress page whether the recovery process is completed successfully or not, you can also do the following to verify that the data has been successfully restored:
- Verify the backup target directory and see if the restored data exists.
- View the backup logs on the server to check that the job is completed successfully.
- In the Event Viewer, under the Application event log, check that the restore completion event is logged.
Mount the Database
Once the data recovery from the backup is finished, mount the database. You can mount the database using the Exchange Admin Center (EAC). Here’s how:
- Log in to the Exchange Admin Center (EAC).
- Click on Servers and then click on Databases.
- Highlight the database you need to mount and click on the three dots.
- Click on the Mount or Dismount option.
- When prompted, confirm the mount operation.
Alternatively, you can use the below PowerShell command to mount the Exchange database:
Mount-Database –Identity <dbname> –Confirm:$False
Conclusion
You can restore the Exchange mailbox database from backup only if you’ve a healthy backup. If the backup is obsolete or not available, then you can repair the corrupted database. For quick repair and recovery, you can take the help of an Exchange recovery software, such as Stellar Repair for Exchange. The software can easily repair the corrupt EDB files and save the repaired data in PST file in just a few clicks. It also allows you to save EDB data to PDF, EML, RTF, and other formats. This tool can also export the EDB file data directly to a live Exchange Server database or Office 365 account.